How to convert Markdown to Word with @mohtasham/md-to-docx
Published
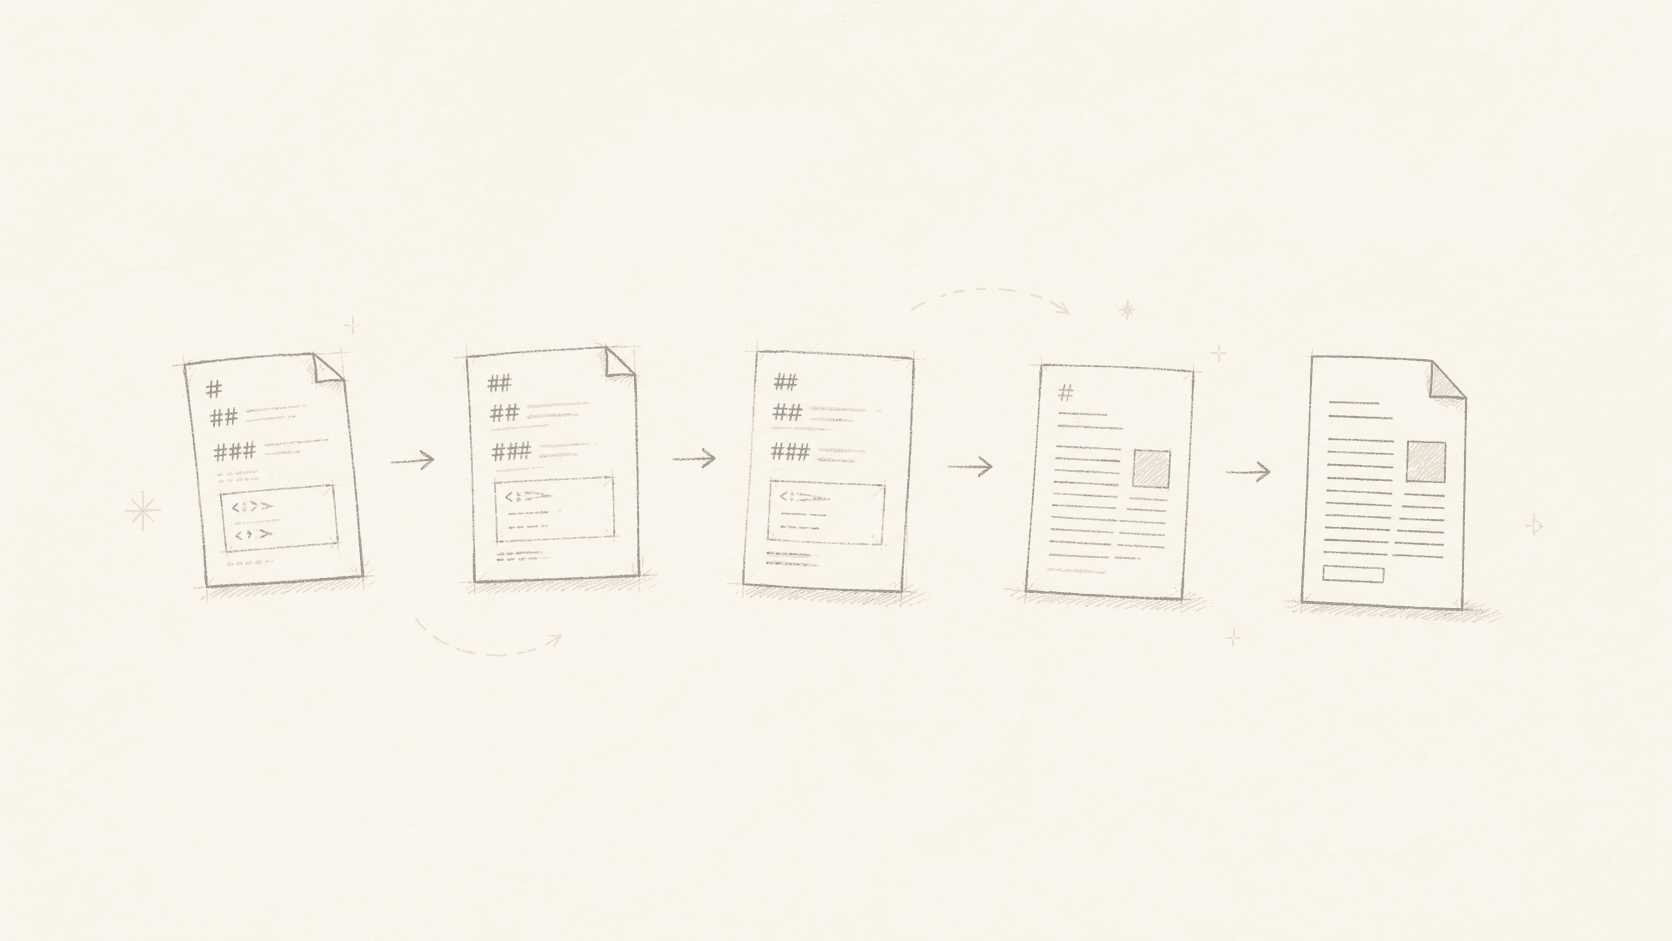
@mohtasham/md-to-docx turns Markdown into an editable Microsoft Word document. You can run it from a terminal, call it from Node.js, download the result in a browser, or install its agent skill and let a coding agent handle the conversion.
The package started as a small script for my school writing workflow. I could get an agent to produce a properly structured assignment in Markdown, but I still had to rebuild it in Word before submitting it. The first version handled titles and a few headings. Version 3.0.1 now handles full documents, including tables of contents, images, captions, cross-references, page numbering, sections, Word templates, code, math, charts, metadata, and accessibility settings.
As of 26 August 2026, the package has 675,776 npm downloads. The latest completed week accounted for 32,023 of them.
Pick the right way to run it
The package has several entry points because a command-line conversion and an in-browser export have different jobs.
| You need to | Use |
|---|---|
| Convert one Markdown file | CLI |
| Generate DOCX files in a server or script | convertMarkdownToBuffer |
Generate a Blob in a browser | convertMarkdownToDocx |
| Trigger a browser download | downloadDocx |
| Create new content using an existing Word design | convertMarkdownWithReferenceDocxToBuffer |
| Keep an existing Word document and fill its placeholders | patchMarkdownInDocxToBuffer |
| Let a coding agent choose and run the workflow | Install the agent skill |
The package requires Node.js 18 or newer when you use it on the server. It ships as ESM and includes TypeScript declarations.
Install the package
Choose the package manager already used by your project.
npm install @mohtasham/md-to-docx
# or
pnpm add @mohtasham/md-to-docx
# or
bun add @mohtasham/md-to-docx
# or
yarn add @mohtasham/md-to-docx
You do not need a local installation for a one-off CLI conversion. npx and bunx can run the package directly.
Convert a file from the terminal
Create a file called report.md:
[TOC]

# Product reliability report

Prepared for the engineering team.

## Summary

The API handled **99.95%** of requests successfully this month.

## Results

| Metric | Result |
| --- | ---: |
| Availability | 99.95% |
| p95 latency | 184 ms |
| Incidents | 2 |

: Monthly service results {#tbl:service-results}

The full results appear in [@tbl:service-results].

\pagebreak

## Next actions

1. Move image processing to a worker.
2. Add an alert for queue depth.
3. Repeat the load test after deployment.
Run the converter:
npx @mohtasham/md-to-docx report.md report.docx
The first path is the Markdown input. The second is the Word output. The same command works through Bun:
bunx @mohtasham/md-to-docx report.md report.docx
If you install the package globally, the shorter binary is available:
npm install -g @mohtasham/md-to-docx
md-to-docx report.md report.docx
Use md-to-docx --help to see the CLI contract.
Add an options file
The CLI accepts the same serializable options as the TypeScript API. Put them in options.json:
{
  "documentType": "report",
  "style": {
    "fontFamily": "Aptos",
    "heading1Alignment": "LEFT",
    "paragraphAlignment": "JUSTIFIED",
    "tableLayout": "fixed"
  },
  "toc": {
    "title": "Contents",
    "minDepth": 1,
    "maxDepth": 3
  },
  "codeHighlighting": {
    "enabled": true,
    "showLanguageLabel": true
  }
}
Pass it with either form of the option flag:
md-to-docx report.md report.docx --options options.json
md-to-docx report.md report.docx -o options.json
Convert Markdown in Node.js
convertMarkdownToBuffer is the direct path when a Node.js process needs to write a file.
import { readFile, writeFile } from "node:fs/promises";
import { convertMarkdownToBuffer } from "@mohtasham/md-to-docx";

const markdown = await readFile("report.md", "utf8");

const output = await convertMarkdownToBuffer(markdown, {
  documentType: "report",
  style: {
    fontFamily: "Aptos",
    paragraphAlignment: "JUSTIFIED",
  },
  metadata: {
    title: "Product reliability report",
    creator: "Engineering Team",
    language: "en-GB",
  },
});

await writeFile("report.docx", output);
The package also exports convertMarkdownToArrayBuffer and convertMarkdownToDocx. The latter returns a Blob, even when called from Node.
Download a DOCX in React
In a browser, convert the Markdown to a Blob and pass it to downloadDocx.
"use client";

import { useState } from "react";
import {
  convertMarkdownToDocx,
  downloadDocx,
} from "@mohtasham/md-to-docx";

export function WordExport() {
  const [markdown, setMarkdown] = useState("# Untitled document");

  async function exportDocument() {
    const blob = await convertMarkdownToDocx(markdown, {
      style: { fontFamily: "Aptos" },
    });

    await downloadDocx(blob, "document.docx");
  }

  return (
    <div>
      <textarea
        value={markdown}
        onChange={(event) => setMarkdown(event.target.value)}
      />
      <button onClick={exportDocument}>Download Word file</button>
    </div>
  );
}
The root import works in client components, including Next.js projects built with Turbopack.
Markdown that becomes Word structure
The converter maps Markdown elements to editable Word elements. It does not take a screenshot or flatten the page into an image.
| Markdown | Word output |
|---|---|
# through ###### | Heading 1 through Heading 6 |
**bold** | Bold text |
*italic* | Italic text |
++underline++ | Underlined text |
~~deleted~~ | Strikethrough text |
| Ordered and unordered lists | Native Word lists |
| GFM table | Editable Word table |
| Blockquote | Styled Word paragraph |
| Fenced code block | Code paragraph, with optional highlighting |
| Inline code | Styled text run |
| Link | Clickable hyperlink |
| Image | Word drawing with Markdown alt text |
[TOC] on its own line | Generated table of contents |
\pagebreak on its own line | Manual page break |
---, ***, or ___ | Word paragraph border |
$x^2$ or a $$ block | Editable Word math |
GitHub-style callouts also work:
> [!NOTE]
> This paragraph becomes a Word callout.
Use an HTML comment beginning with COMMENT: when you want an actual Word comment:
<!-- COMMENT: Confirm this number before sending. -->
Add captions and cross-references
A standalone image or table can have a numbered caption. Put the caption in the next Markdown block and give it a fig: or tbl: identifier.
The request path is shown in [@fig:request-flow].

: Request processing flow {#fig:request-flow}
| Stage | p95 |
| --- | ---: |
| API | 184 ms |
| Worker | 420 ms |
: Processing latency {#tbl:latency}
Word receives native Figure 1 and Table 1 fields, bookmarks, and clickable references. Numbering continues across document sections.
Change the labels or placement through captions:
const options = {
  captions: {
    figureLabel: "Diagram",
    tableLabel: "Dataset",
    figurePlacement: "below",
    tablePlacement: "above",
    alignment: "CENTER",
    failureMode: "throw",
  },
};
Control document styles
Style sizes use Word half-points. A value of 24 produces 12-point text.
import type { Options } from "@mohtasham/md-to-docx";

const options: Options = {
  documentType: "report",
  style: {
    fontFamily: "Aptos",
    heading1Size: 32,
    heading2Size: 28,
    paragraphSize: 24,
    paragraphAlignment: "JUSTIFIED",
    headingAlignment: "LEFT",
    codeBlockAlignment: "LEFT",
    direction: "LTR",
    tableLayout: "fixed",
  },
  textReplacements: [
    { find: "ACME", replace: "Acme Corporation" },
    { find: /DRAFT/g, replace: "INTERNAL" },
  ],
};
Direction can be LTR or RTL. Alignment can be LEFT, CENTER, RIGHT, or JUSTIFIED. Individual heading levels can override the shared heading alignment and size.
Build a multi-section document
Use template for defaults shared by every section. Put each part of the document in sections when it needs its own headers, footers, numbering, orientation, or style.
import { writeFile } from "node:fs/promises";
import { convertMarkdownToBuffer } from "@mohtasham/md-to-docx";

const output = await convertMarkdownToBuffer("", {
  style: {
    fontFamily: "Aptos",
    paragraphSize: 24,
  },
  template: {
    pageNumbering: {
      display: "currentAndTotal",
      alignment: "CENTER",
    },
  },
  sections: [
    {
      markdown: "# Product reliability report\n\nPrepared for the engineering team.",
      titlePage: true,
      footers: { default: null },
      pageNumbering: { display: "none" },
      style: { paragraphAlignment: "CENTER" },
    },
    {
      markdown: "[TOC]\n\n# Summary\n\nMain report content.",
      headers: {
        default: {
          text: "Reliability report",
          alignment: "RIGHT",
        },
      },
      pageNumbering: {
        start: 1,
        display: "currentAndTotal",
      },
    },
    {
      markdown: "# Appendix\n\nWide tables belong here.",
      type: "NEXT_PAGE",
      page: {
        size: { orientation: "LANDSCAPE" },
      },
    },
  ],
});

await writeFile("sectioned-report.docx", output);
Global styles apply first. Template defaults apply next. Options on an individual section win last.
Reuse an existing Word design
Version 3 has two reference DOCX workflows. The correct one depends on who owns the body of the final document.
Generate new content with reference styles
Use convertMarkdownWithReferenceDocxToBuffer when Markdown contains the entire new body and an existing Word file supplies the named styles, fonts, page geometry, and headers or footers.
import { readFile, writeFile } from "node:fs/promises";
import {
  convertMarkdownWithReferenceDocxToBuffer,
} from "@mohtasham/md-to-docx";

const reference = await readFile("company-reference.docx");
const markdown = await readFile("report.md", "utf8");

const output = await convertMarkdownWithReferenceDocxToBuffer(
  markdown,
  reference,
  {
    reference: {
      styles: {
        normal: { name: "Corporate Body" },
        heading1: { id: "CorpHeading1" },
        table: { name: "Corporate Table" },
      },
      preservePageLayout: true,
      preserveHeadersAndFooters: true,
    },
  },
);

await writeFile("styled-report.docx", output);
Fill placeholders in an existing document
Use patchMarkdownInDocxToBuffer when the original document body must remain. Add plain-text placeholders such as {{body}} to the Word file, then supply Markdown for each one.
import { readFile, writeFile } from "node:fs/promises";
import { patchMarkdownInDocxToBuffer } from "@mohtasham/md-to-docx";

const template = await readFile("company-template.docx");

const output = await patchMarkdownInDocxToBuffer(
  template,
  {
    body: "# Quarterly update\n\nRevenue increased **18%**.",
    appendix: "## Appendix\n\nSupporting notes.",
  },
  {
    keepOriginalStyles: true,
    style: { fontFamily: "Aptos" },
  },
);

await writeFile("completed-template.docx", output);
Reference DOCX workflows take binary Word input, so they are programmatic APIs rather than CLI flags.
Add metadata and accessibility checks
Metadata appears in Word's document properties. The language also becomes the fallback proofing language for generated text.
const options = {
  metadata: {
    title: "Product reliability report",
    subject: "Monthly API review",
    creator: "Engineering Team",
    keywords: ["reliability", "API", "operations"],
    company: "Acme Corporation",
    language: "en-GB",
    custom: {
      ReviewState: "Draft",
      Build: "2026.08",
    },
  },
  accessibility: {
    missingImageAltText: "throw",
  },
};
Markdown image alt text becomes the Word drawing description. Headings remain semantic Word headings, and the first row of a Markdown table becomes a repeatable Word table-header row.
Render code, math, charts, and diagrams
Syntax highlighting is optional. Enable it for fenced code blocks:
const options = {
  codeHighlighting: {
    enabled: true,
    showLanguageLabel: true,
    languages: ["typescript", "javascript", "python", "bash"],
  },
};
Inline math and block math are enabled by default. Supported expressions become editable Word equations:
The failure rate is $r = \frac{f}{n}$.

$$
\sum_{i=1}^{n} x_i
$$
The built-in chart renderer handles bar, line, pie, and doughnut chart blocks. Enable it in the conversion options:
const options = {
  chartRendering: {
    enabled: true,
    width: 640,
    height: 360,
  },
};
Then put a Chart.js-style definition in the Markdown:
```chart
{
  "type": "bar",
  "data": {
    "labels": ["May", "June", "July"],
    "datasets": [
      {
        "label": "Incidents",
        "data": [5, 3, 2]
      }
    ]
  },
  "alt": "Incidents fell from five in May to two in July"
}
```
Mermaid blocks use a renderer callback supplied by your application. The callback returns PNG, JPEG, or GIF bytes for the DOCX:
const options = {
  mermaidRendering: {
    enabled: true,
    render: async ({ code, signal }) => {
      const image = await renderMermaidToPng(code, { signal });
      return {
        data: image,
        contentType: "image/png",
        width: 640,
        altText: "Request flow through the API and worker",
      };
    },
  },
};
For application-specific blocks, the package also has a versioned plugin API. Plugins can transform the Markdown tree or render custom fenced blocks into paragraphs, headings, code, images, and tables.
Install it as an agent skill
The repository includes a skill that tells coding agents when to use the CLI, browser API, multi-section mode, or either reference DOCX workflow.
Install it with the Skills CLI:
npx skills add MohtashamMurshid/md-to-docx
List the skills in the repository before installing if you want to inspect them:
npx skills add MohtashamMurshid/md-to-docx --list --full-depth
Once installed, an agent can handle requests such as:
Convert report.md to report.docx. Use Aptos, justify body paragraphs,
add a table of contents, and put Page X of Y in the footer.
The skill gives the agent the exact commands, option names, and API boundaries. The generated file still comes from the same package.
API cheat sheet
| Export | Returns | Use it for |
|---|---|---|
convertMarkdownToDocx | Blob | Browser conversion or a portable binary result |
convertMarkdownToArrayBuffer | ArrayBuffer | Web APIs and binary transport |
convertMarkdownToBuffer | Node Buffer | Server files and scripts |
downloadDocx | Promise<void> | Browser downloads |
convertMarkdownWithReferenceDocxToBuffer | Node Buffer | New Markdown body with a reference Word design |
patchMarkdownInDocxToBuffer | Node Buffer | Filling placeholders while keeping the original Word body |
The complete option types ship with the package. In TypeScript, import Options, DocumentSection, DocumentMetadata, or the renderer and plugin types from the root entry point.